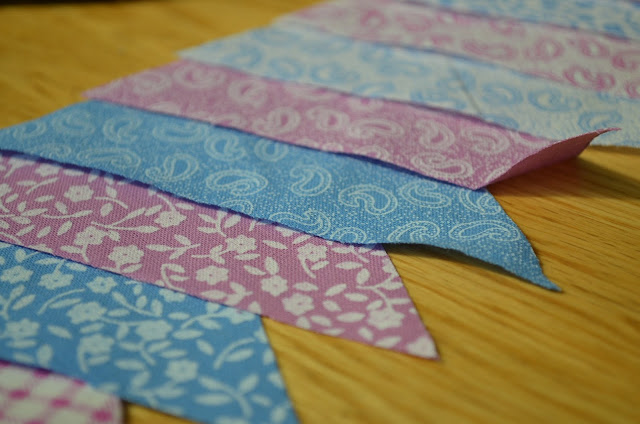
These were great fun! They were super easy to make and look so cute hung up over my bed. I absolutely love them. And when I get to my university room, I have a feeling it will be covered in these....
Anyway, this is how I made these super cute 'Easy Peasy Bunting'
What You Will Need:
- Patterned Material
- Ribbon or String- Card
- Pencil
- Ruler
- Scissors
- Needle and Thread or Fabric Glue
1. Cut out and isosceles triangle from the card, using your pencil, ruler, scissors and card.
2. Lay the card on your material and trace the triangle onto the back of your material (so that your don't get the pencil marks on the front of your bunting)
3. Cut out the triangle
4. Repeat 2 and 3 as many times as you want, I cut out 10 triangles.
5. Cut the length of string/ribbon you need to place your triangles on, making sure it's the short side of the triangle on the string/ribbon.
From now on, this will differ whether you are sewing or glueing. I can't sew to save my life, and so the next steps are if you're using glue. (Note: PVA glue will work as well as fabric glue, but your bunting won't be as strong)
6. Lay the triangles upside down, and lay the string/ribbon over the top of the triangles.
7. Using a brush, coat the string/ribbon and the top of the triangles. (Note: the glue will soak through the material, and so be careful what your making this on. I used a varnished wooden table, and my glue was washable, and so when it dried I had to peel the material off, and then wipe down the surface with some soap and water.)
8. Leave to dry.
9. Your bunting is now finished, hang up somewhere, and it will look adorable.


No comments:
Post a Comment